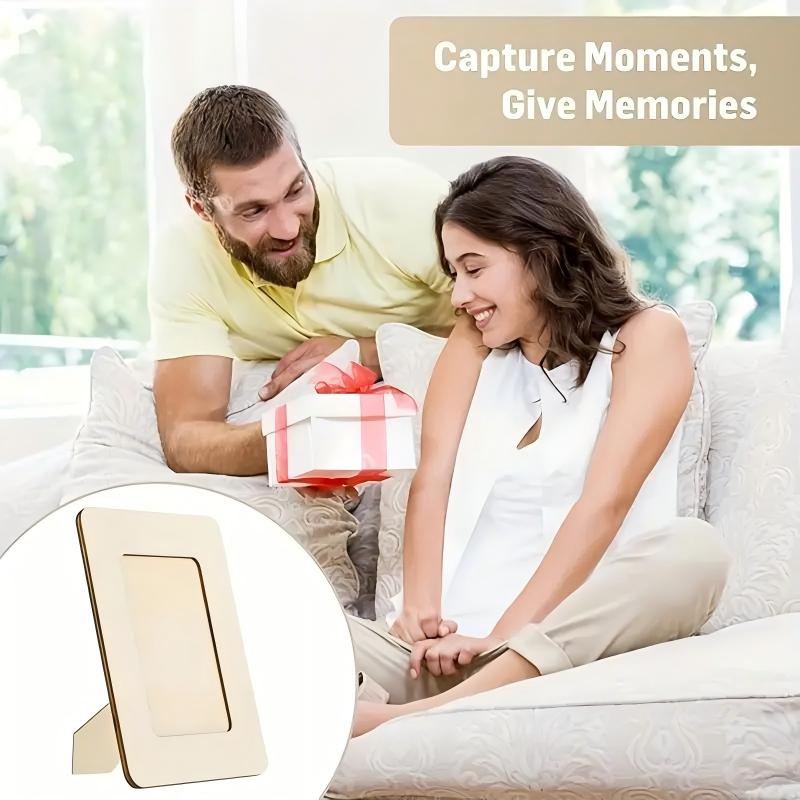

Photos from current listings. Actual item, color, and included accessories may vary.
DIY Frame Buying Guide
DIY frame kits and components let you build custom-size picture frames from raw molding, mat board, and glazing rather than buying pre-made sizes. The core trade-off is joinery and glazing quality versus convenience: kit-based frames with metal hardware and acrylic survive handling, while bare wood molding and glass demand precise cutting and clamping. Choose a kit or pre-cut component set when you lack a miter saw and router; choose raw molding only when you own the cutting and joining tools.
At a glance
- Category
- Picture Frames & Photo Displays
- Last updated
- Nov 22, 2026
Current offers
Highlights
- Joinery quality separates durable DIY frames: metal corner plates or V-nails with wood glue outlast butt-glued miters, which fail under load.
- Glazing choice sets safety and weight: acrylic (often 0.08–0.12 in) is shatter-resistant and lighter; glass offers scratch resistance but adds fragility and mass.
- Molding profiles differ by rabbet depth: standard 3/8–1/2 in rabbet fits glass plus one mat; deeper 3/4 in rabbet accommodates stacked mats or canvas panels.
- Backing and mat board grades matter: acid-free 4-ply (about 1.4 mm) mat board prevents yellowing; standard cardboard backing off-gasses and browns prints over time.
Best use cases
- Best fit: a pre-cut DIY frame kit with metal corner hardware, acrylic glazing, and acid-free mat for first-time framers without a miter saw — skip raw molding and glass cutting.
- Best fit: raw wood or metal molding plus separate V-nail or corner-plate joining for buyers with a miter saw, strap clamp, and router — skip kits if you want exact custom dimensions beyond stock sizes.
- Wrong fit: glass glazing and thin 1/4 in molding for large-format or high-traffic wall displays — choose acrylic and a wider 1.5–2 in profile for stability.
Buying tips
- Match rabbet depth to contents: add glass (about 1/8 in) + mat (about 1/16 in per 4-ply sheet) + backing (about 1/16 in); a 1/2 in rabbet fits one mat, 3/4 in fits two.
- Size the frame opening from the artwork plus mat overlap: mat opening equals image size minus 1/8–1/4 in per side, and frame outer size equals opening plus 2× molding width.
- Choose joining hardware by material: V-nails for wood molding, corner plates or screws for metal profile; both need glue at the miter for a permanent seam.
- Select glazing by size and location: acrylic above roughly 16×20 in for weight and safety; glass only for small frames in low-traffic, low-humidity rooms.
Specs
| Frame Format | Kit / Raw molding / Pre-cut components |
|---|---|
| Glazing Type | Acrylic sheet vs Glass pane |
| Joinery Hardware | V-nails / Corner plates / Screws |
| Rabbet Depth | 3/8–3/4 in (glass + mat stack) |
Related searches
What to check before buying
- Measure the wall or shelf space and hanging hardware load: frames wider than 24 in need two hangers or a French cleat, not a single nail.
- Confirm the artwork or photo dimensions and whether a mat is included, so the frame opening math matches without trimming the print.
- Check humidity and sun exposure: avoid glass and cardboard backing in bathrooms or direct sun; use acrylic and acid-free board instead.
- Verify you own or can borrow a miter saw, strap clamp, and V-nail driver before buying raw molding; otherwise buy a pre-cut kit.
FAQ
Data sources: eBay / Amazon listings and product attribute feeds. Updated Nov 22, 2026.
Some links on this page are affiliate links. If you buy after clicking one, we may earn a commission at no extra cost to you. This does not change which products appear here or their order. Affiliate disclosure.